Step 1:
|
|
Install cert: Click Here
|
Click the cert link. Note: Safari handles this very well. If you use another browser, you might have to double click the cert in the Downloads folder under "Files".
|
Step 2:
|
|
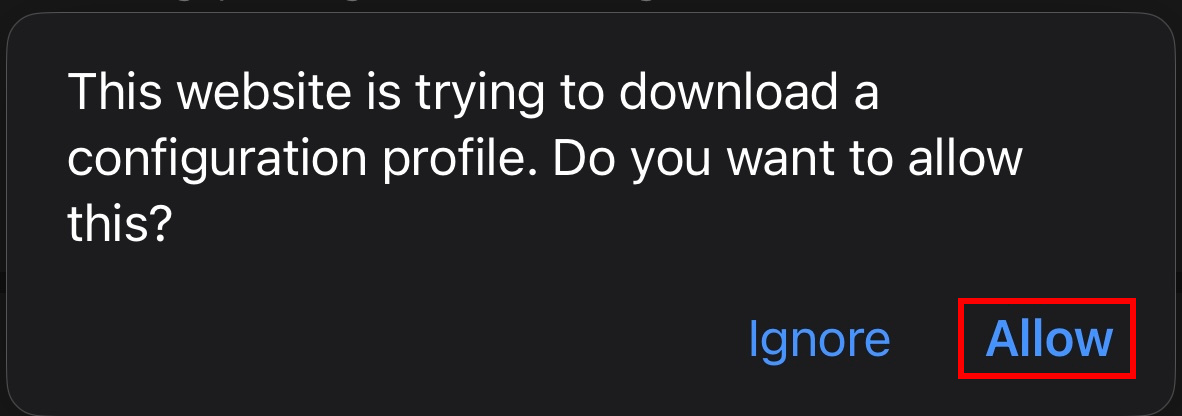
Click "Allow" at this prompt.
|
Step 3:
|

|
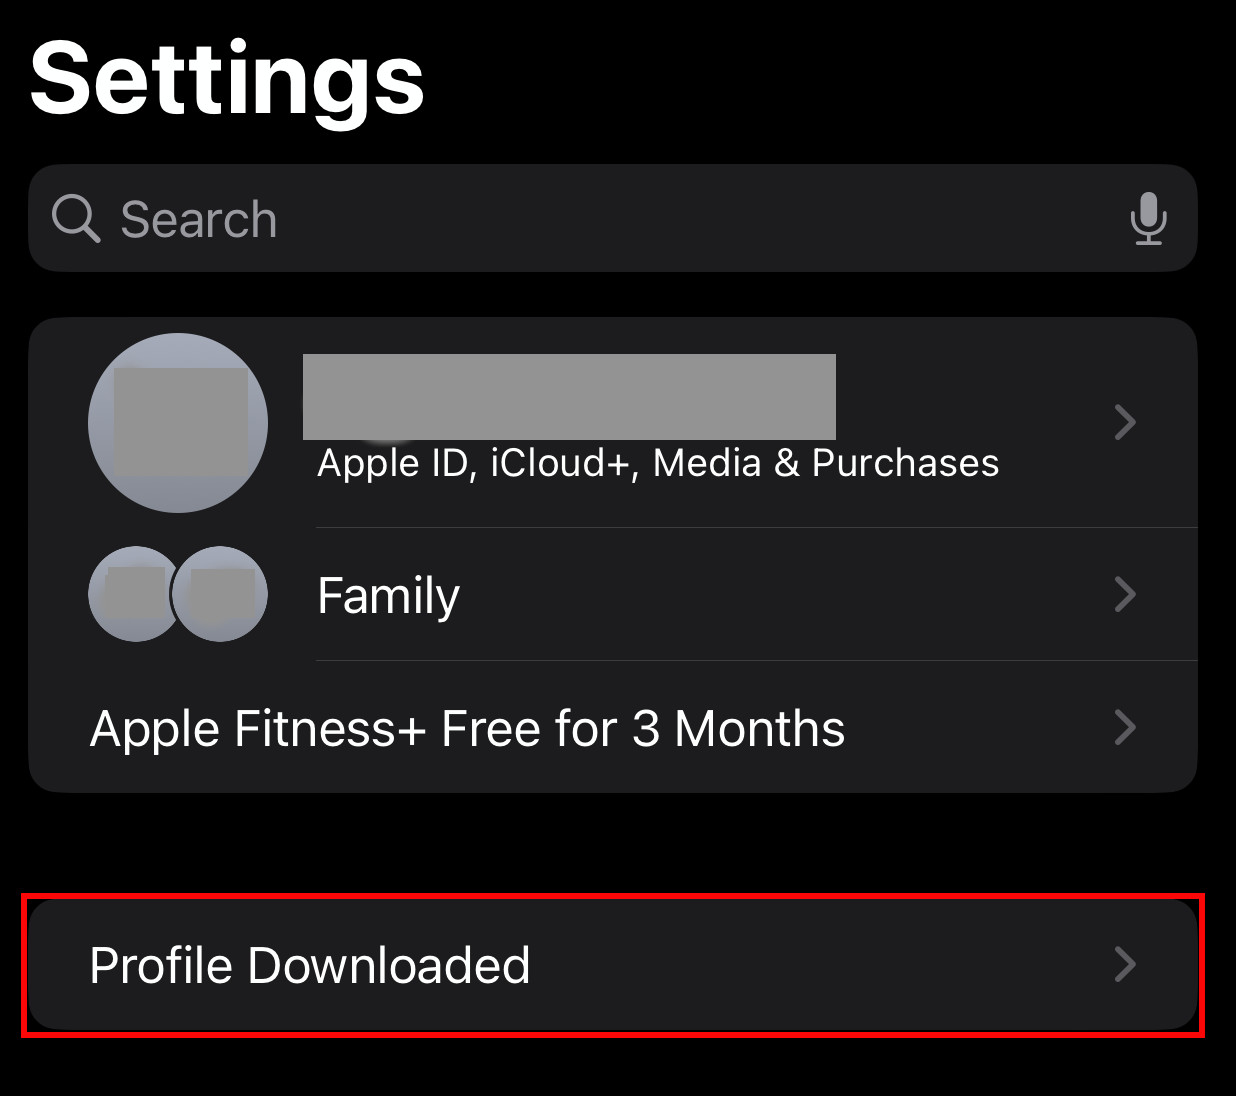
Go to "Settings" on your iOS device, and click "Profile Downloaded".
|
Step 4:
|
|
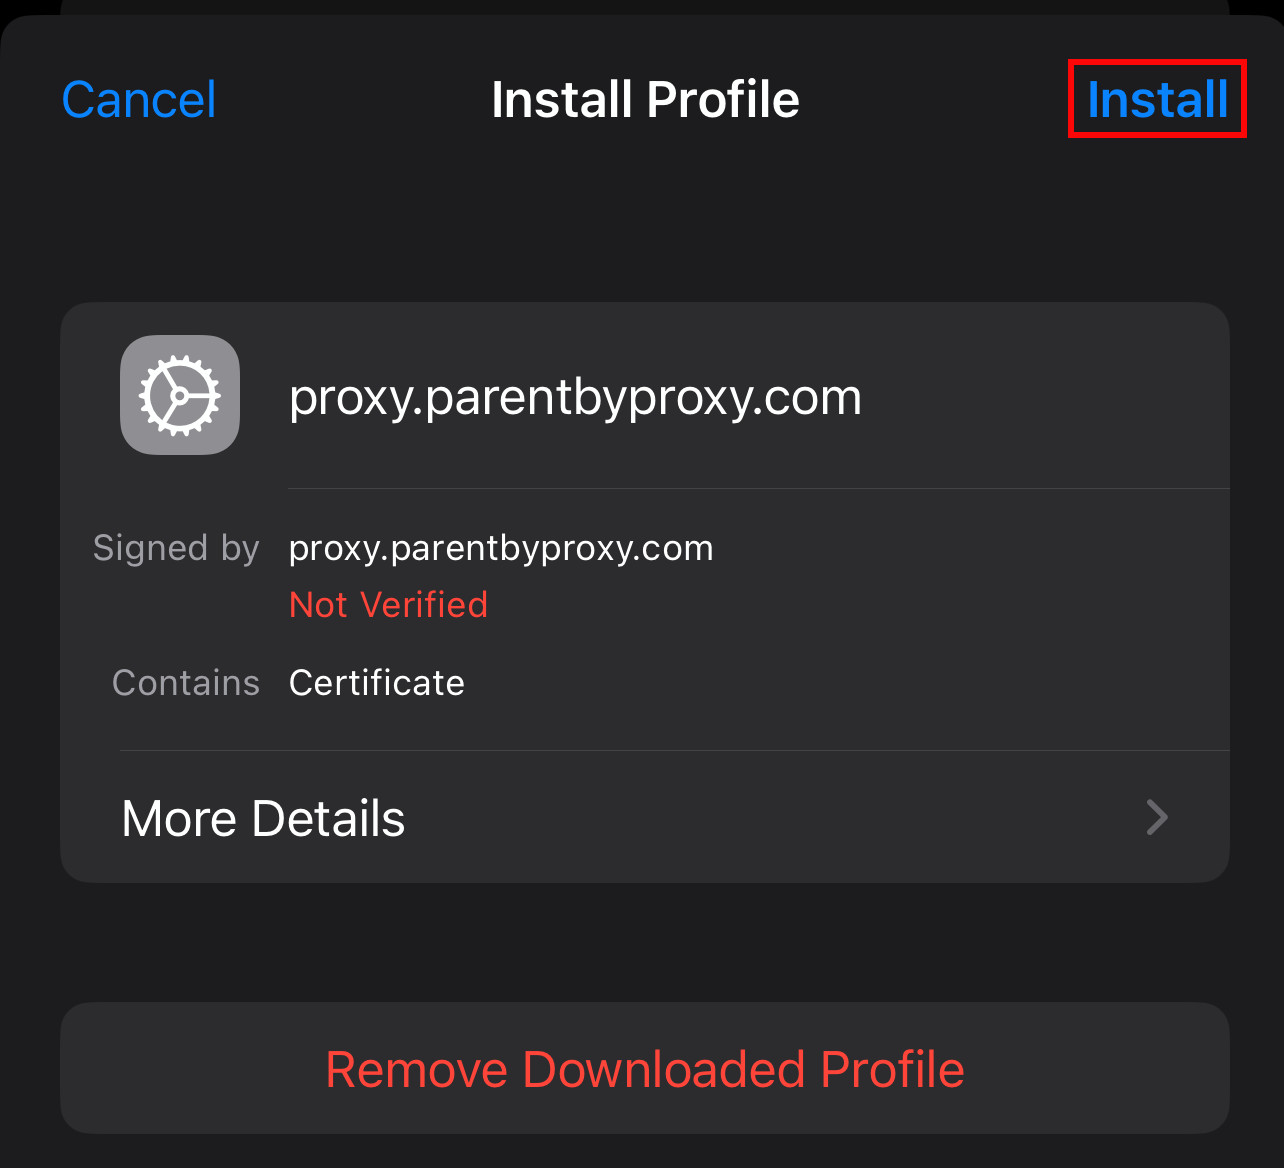
Click "Install" in the upper right.
|
Step 5:
|
|
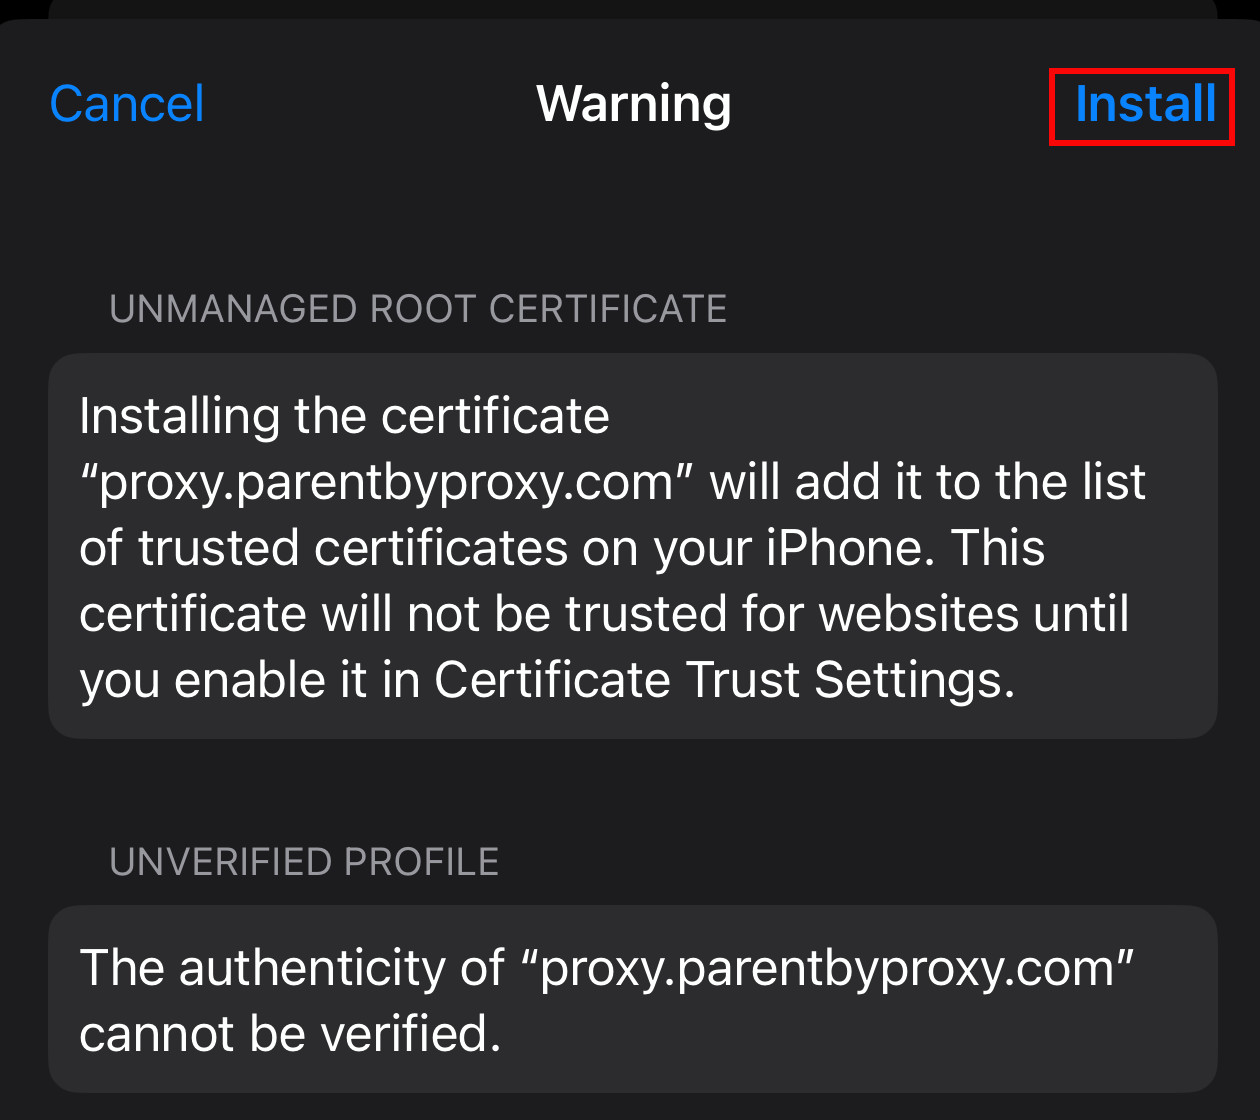
Click "Install" in the upper right, again.
|
Step 6:
|
|
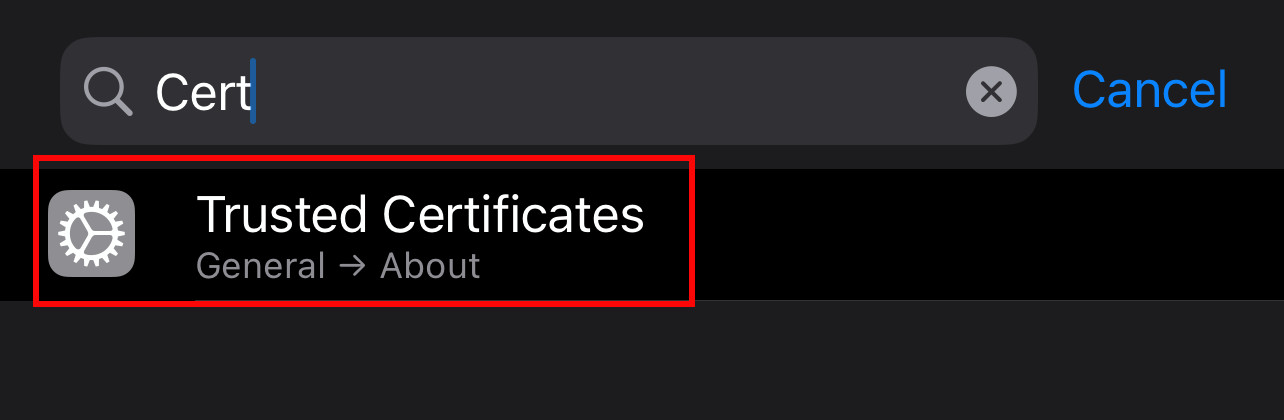
Type "Cert" in the settings search up at the top. You should see "Trusted Certificates" in the results. Click on "Trusted Certificates"
|
Step 7:
|

|
Scroll to the bottom and click "Certificate Trust Settings".
|
Step 8:
|
|
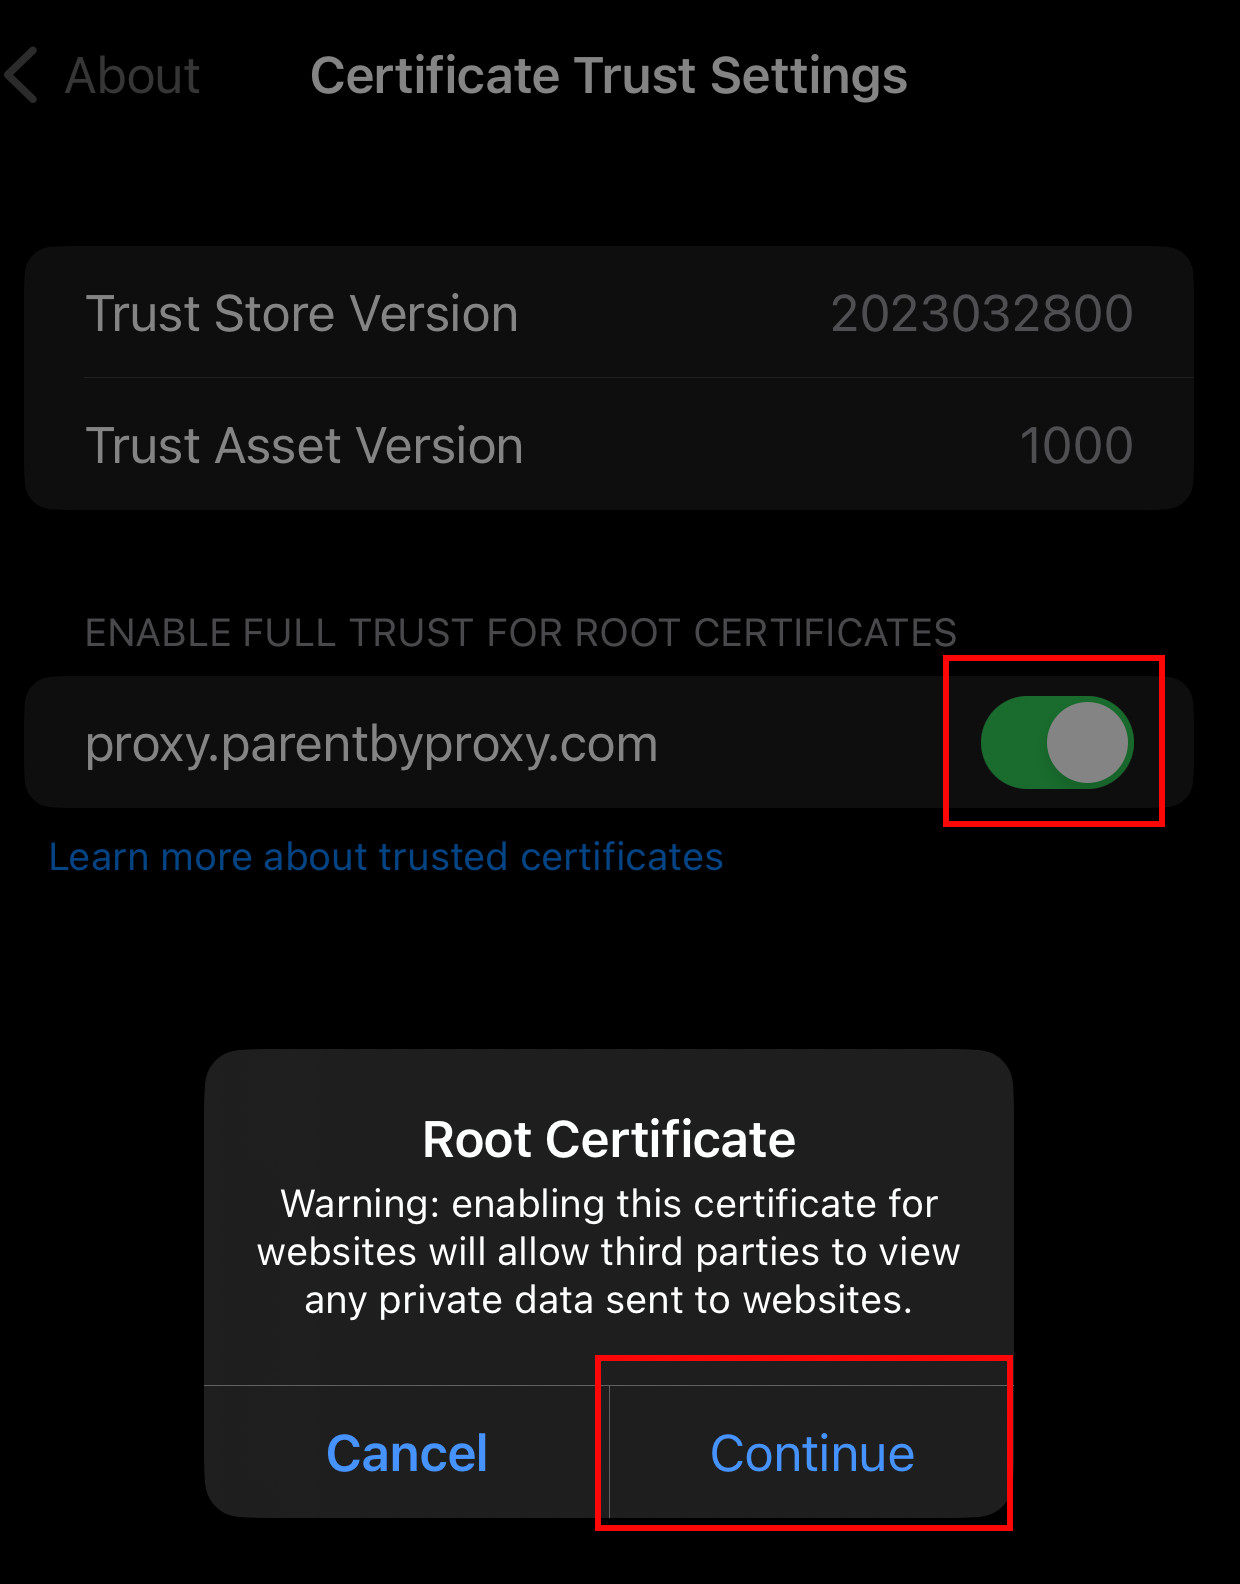
Click the slider on the right. Then click "Continue".
|
Step 9:
|
|
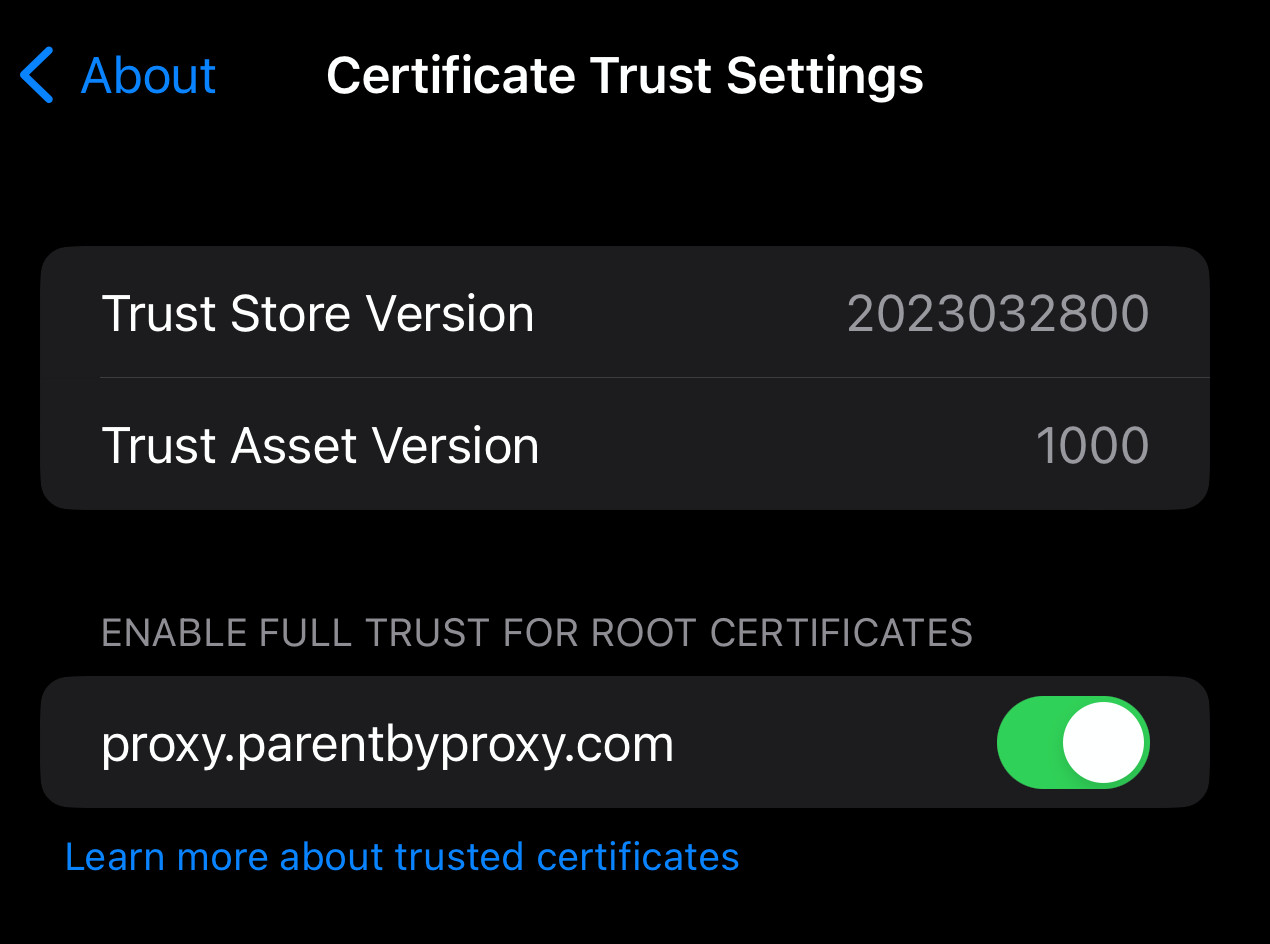
Congratulations, the certificate needed to use the Parent By Proxy service is now installed!
|
Step 10:
|
|
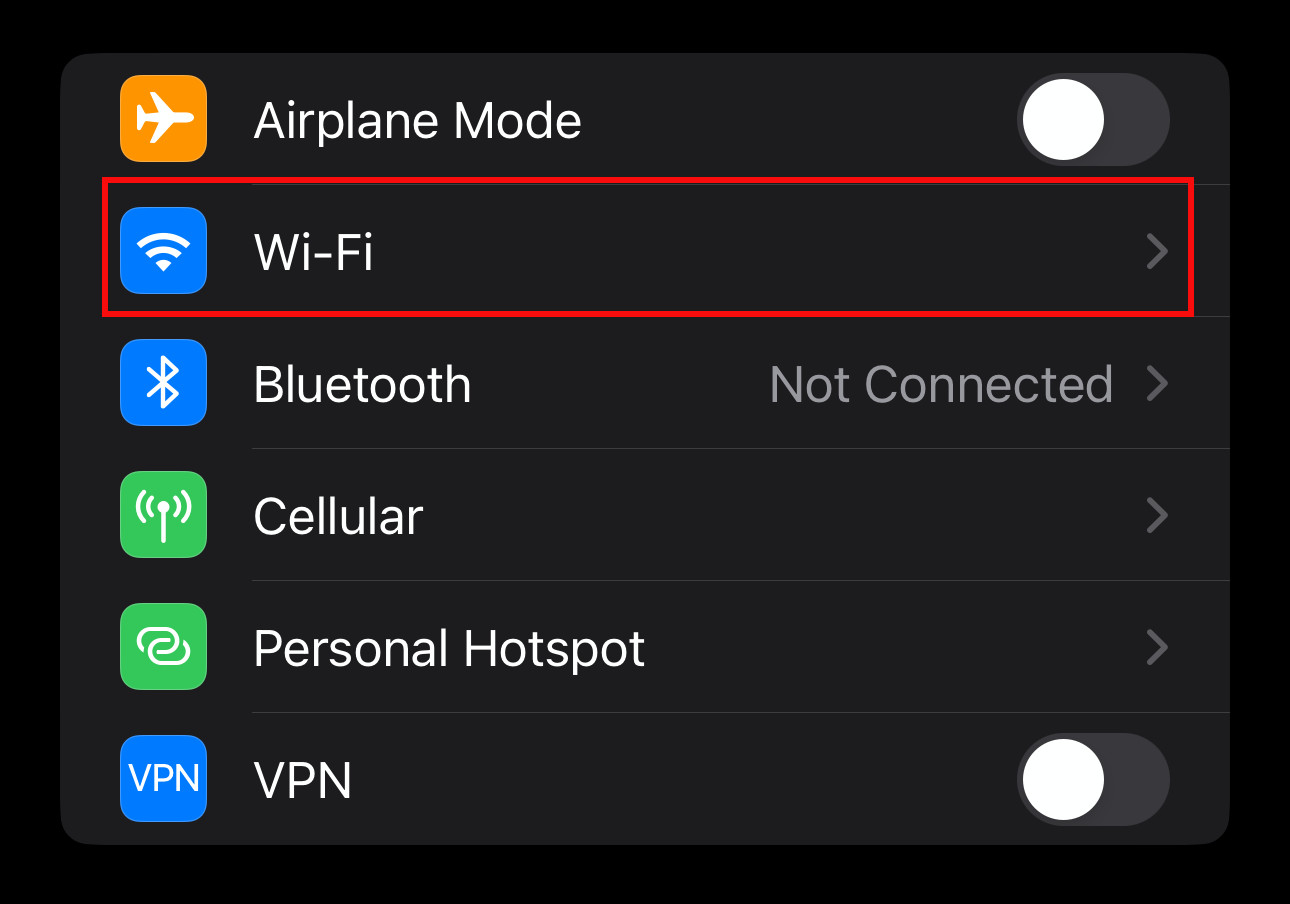
Go back to the first page of the "Settings" app. Click your Wi-Fi settings.
|
Step 11:
|

|
Click the "i" to the right of your Wi-Fi network name.
|
Step 12:
|
|
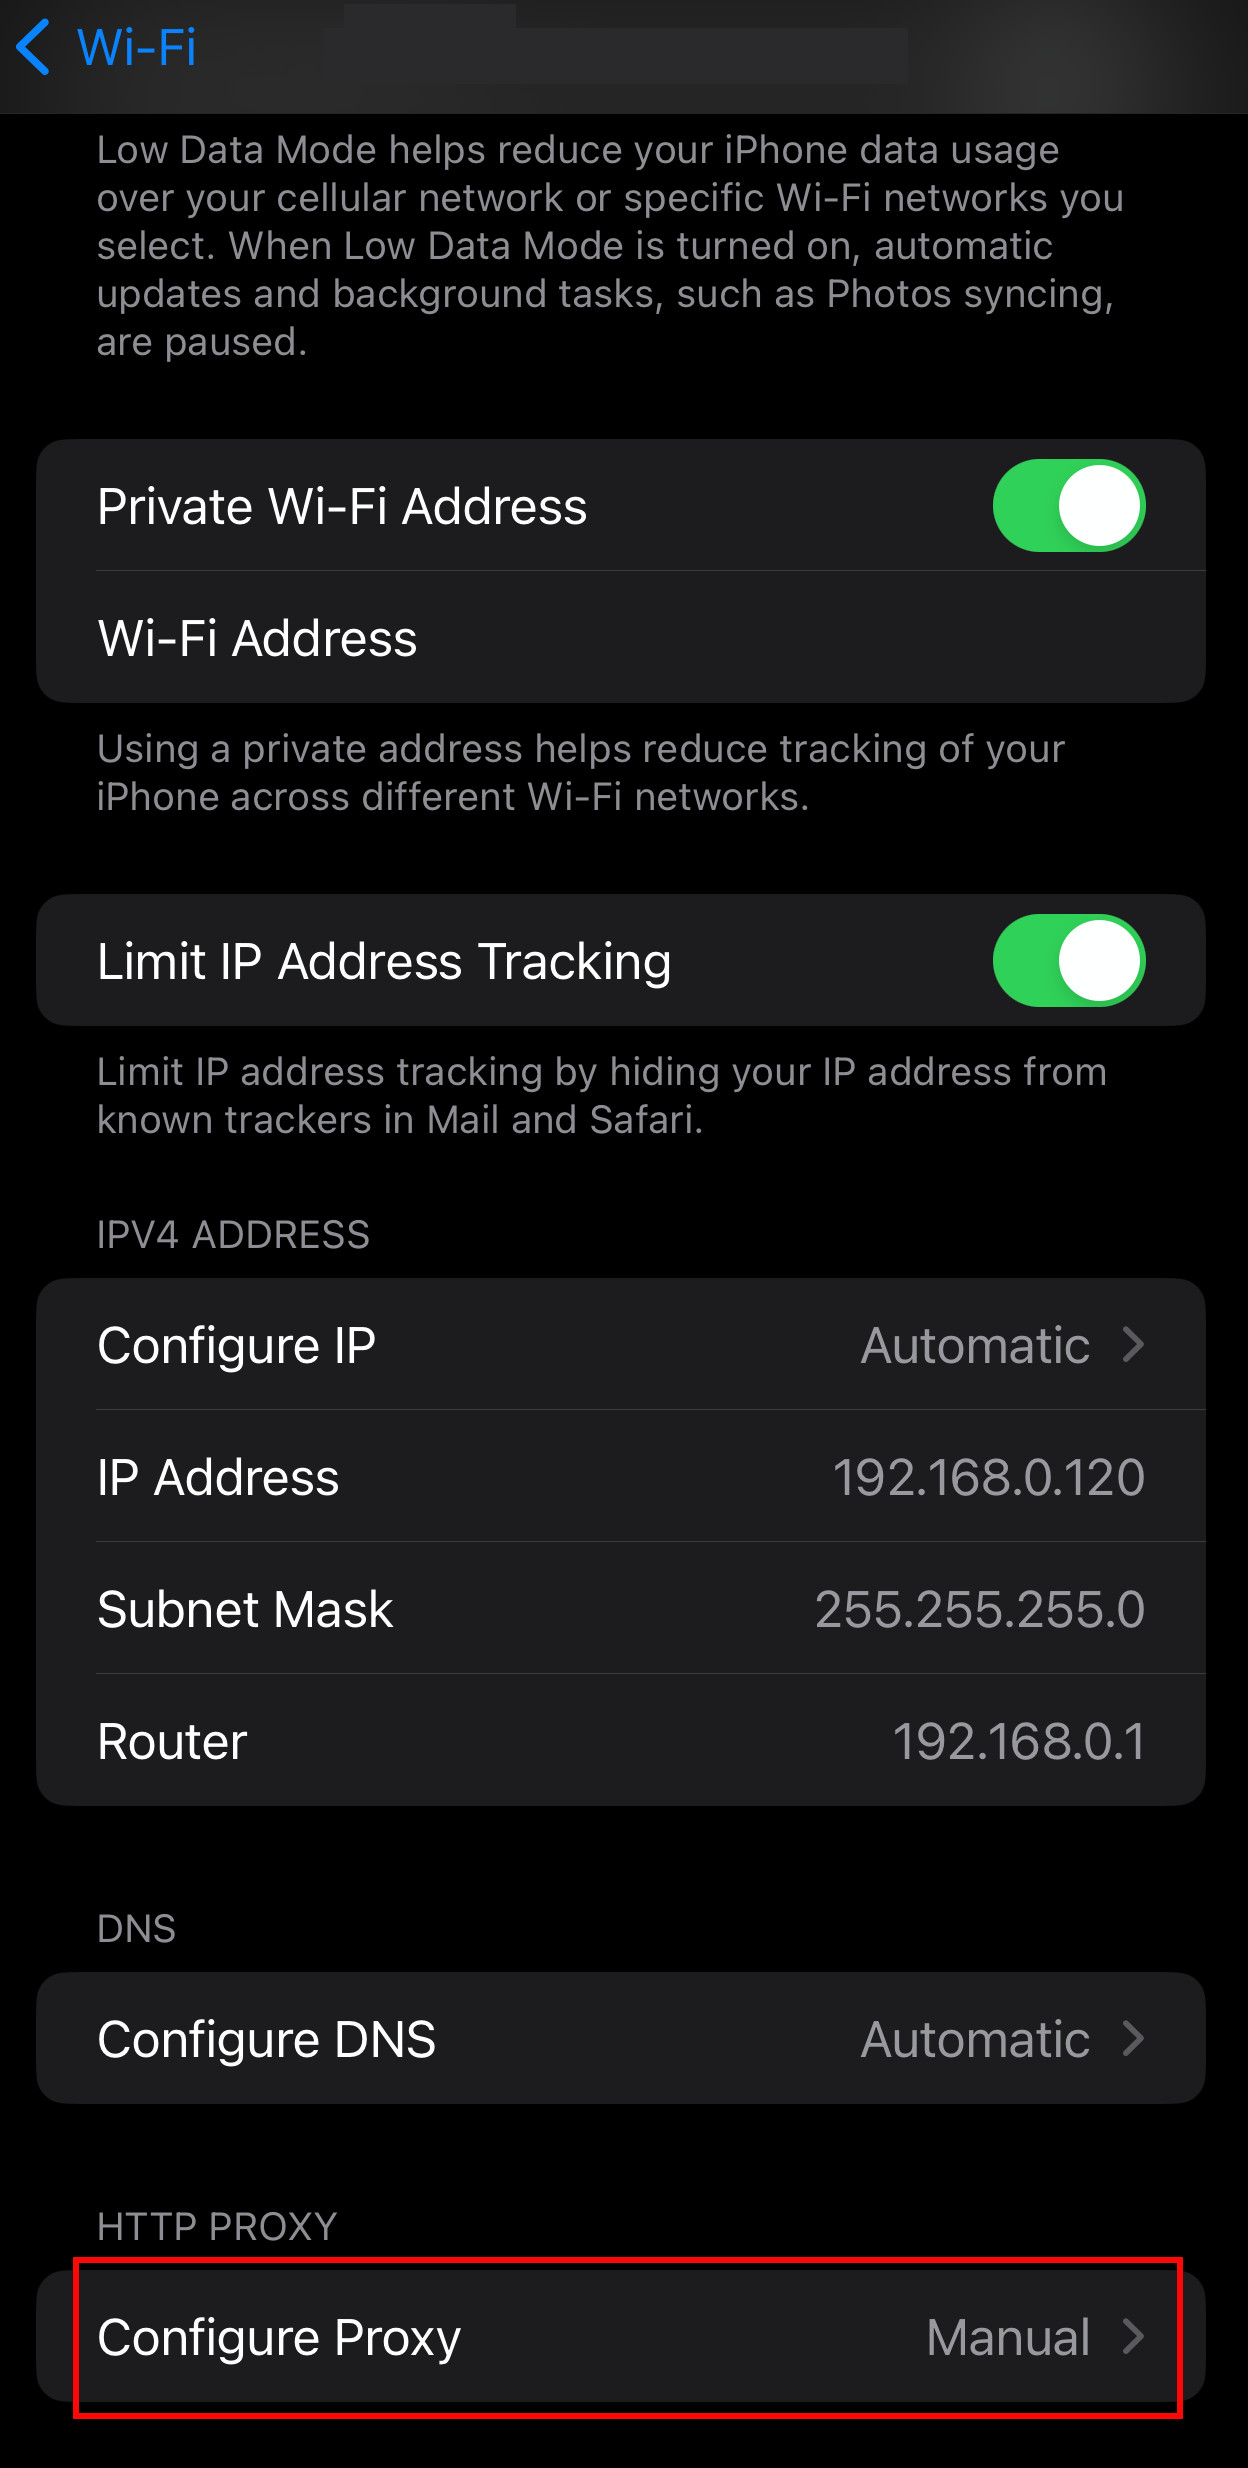
Scroll down to the bottom and click on "Configure Proxy"
|
Step 13:
|

|
Select "Manual"
Add the following:
- Server: proxy.parentbyproxy.com
- Port: 50128
- Username: your username
- Password: your password
Click "Save" in the upper right
You can exit settings. Go to your browser and proceed like you normally would
Note: Your browser may ask for you username and password again. If so, just enter the username and password given to you and you should not have to enter it again!
|
